Guides
Explore our comprehensive guides to master laser engraving on wood. Learn about effective techniques, selecting suitable wood types, and essential care tips to enhance and preserve your laser-engraved pieces.
Explore ↗
Laser Engraving Techniques for Wood
Laser engraving on wood involves precise use of focused laser beams to etch detailed designs or text onto the surface. Understanding how laser power, speed, and frequency settings impact the engraving depth and clarity is essential. Different engraving styles include surface etching for light designs and deep engraving for textured effects.
Adjusting laser parameters according to the wood species and moisture content yields cleaner lines and reduces burn marks. Experimenting on sample pieces can help identify optimal settings for your projects.
- Use lower laser power for soft woods to avoid excessive charring.
- Increase speed slightly for hardwoods to prevent burning.
- Perform multiple passes for deeper engravings instead of one high-power pass.
Common Wood Types and Their Engraving Characteristics
Not all woods respond identically to laser engraving. Softwoods such as pine engrave quickly but may have uneven grain patterns, affecting design consistency. Hardwoods like maple or cherry offer a smoother surface and richer contrast with engraving but require adjusted laser settings.
Understand each wood’s density, grain, and resin content, which influence burn marks and engraving visibility. Choosing woods with fine, even grain can enhance intricate designs.
- Maple provides bright contrast with a clean engraving surface.
- Walnut’s dark color emphasizes the lighter engraved areas for striking visuals.
- Birch has a pale color and uniform grain ideal for detailed artwork.
Preparing Wood for Laser Engraving
Preparation ensures the best engraving results. Start with clean, dry wood without coatings or finishes that might interfere with laser penetration. Sand the surface to a smooth finish to prevent uneven etching.
Avoid using treated or stained wood as chemicals may release harmful fumes during engraving. Proper ventilation is crucial. Testing on a scrap piece can identify any issues beforehand.
- Sand wood to at least 220 grit for a smooth surface.
- Remove dust thoroughly before engraving.
- Confirm wood is untreated and free of finishes.
Post-Engraving Care and Finishing Tips
After engraving, some residue or soot may remain on the wood. Gently wiping with a dry brush or compressed air can clean debris without damaging the design. Avoid water-based cleaners which can cause wood swelling.
Applying a clear protective finish such as a natural oil or wax can enhance contrast and preserve the engraving. Choose finishes compatible with the wood type and use them sparingly to avoid filling engraved details.
- Use a soft brush to remove residue.
- Apply natural oils like tung or linseed oil for a warm finish.
- Avoid heavy lacquers that obscure fine lines.
Common Challenges and Solutions
Burn marks and over-darkening are frequent issues. Reducing laser power or increasing engraving speed can minimize these effects. Uneven engraving may result from inconsistent wood thickness or poor fastening during the process.
Wood resin can also cause flare-ups; selecting low resin woods or cleaning the surface before engraving helps. Regular maintenance of the laser equipment ensures consistent results.
Patience and experimentation are key to refining your technique for each wood species and design style.
- Adjust settings gradually to find the optimal balance.
- Secure wood firmly to prevent movement.
- Regularly clean lenses and mirrors of the laser system.
Discover more
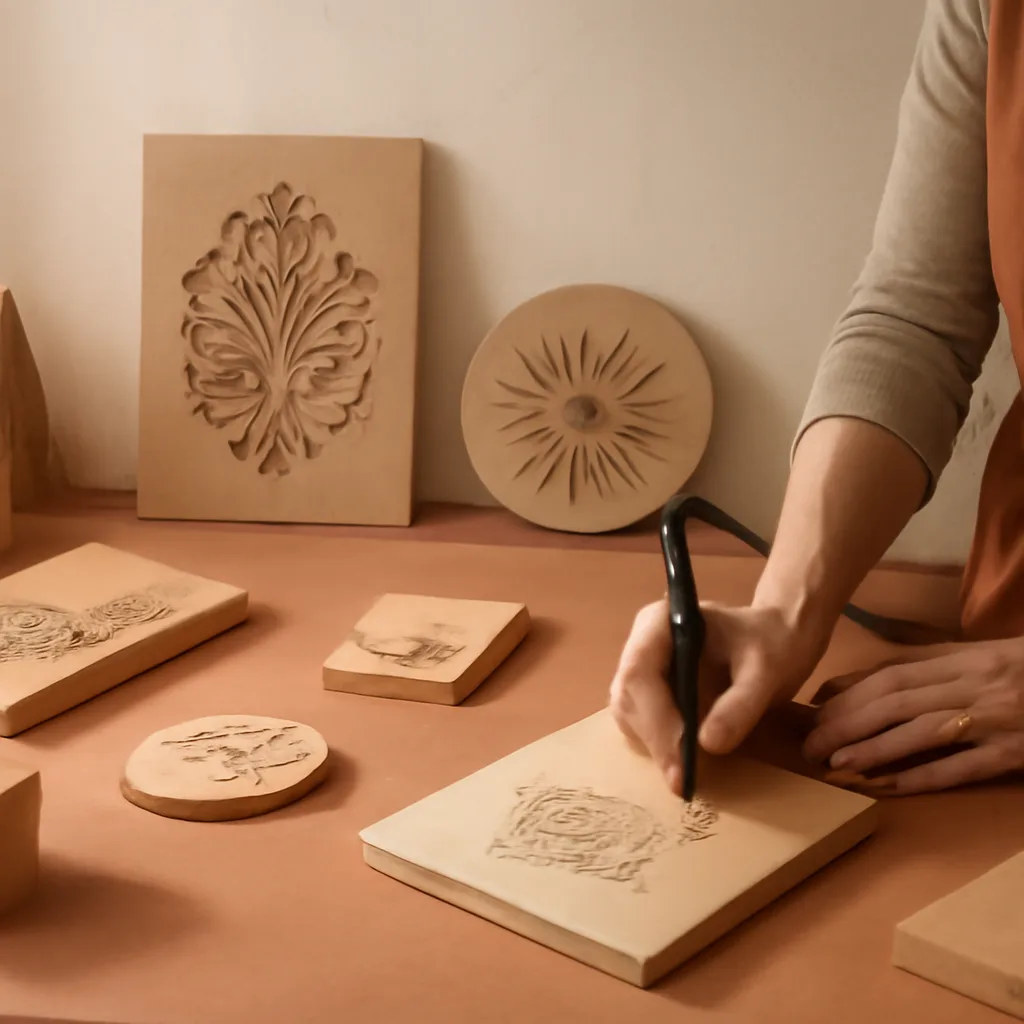
Choosing the Right Wood for Laser Engraving
Discover which wood types are ideal for laser engraving and learn how wood characteristics affect engraving detail and finish.
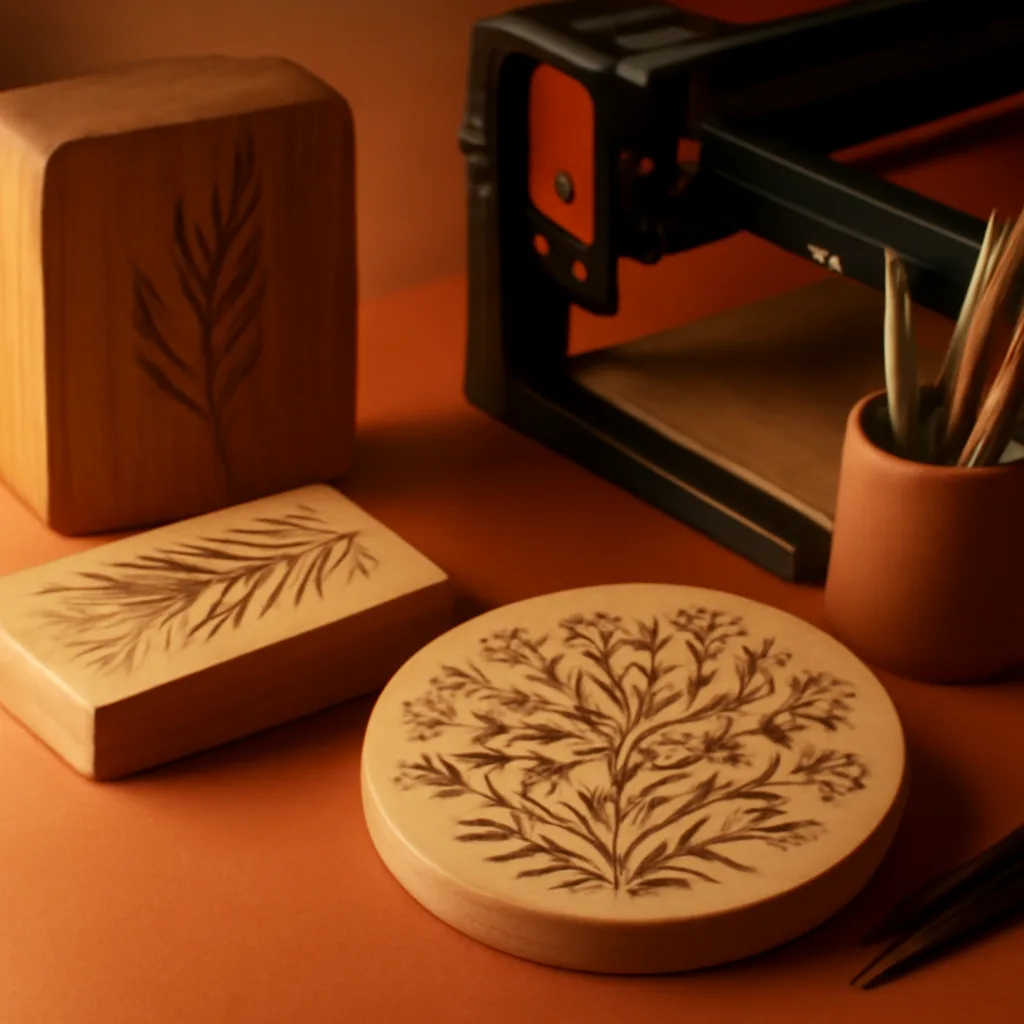
How Laser Engraving Works: A Simple Explanation
Understand the laser engraving process on wood, from design to finished product, explained clearly for beginners.
Customizing Wood Gifts with Laser Engraving
Explore creative ideas and benefits of personalized laser engraved wooden gifts for unique, memorable presents.
Maintaining and Caring for Laser Engraved Wood Products
Discover essential tips to preserve the beauty and longevity of your laser engraved wooden items with effective maintenance and care.
Laser Engraving Safety Tips and Best Practices
Essential safety measures and best practices to follow during laser engraving operations for wood products.
Top Trends in Wood Laser Engraving Design for 2024
Explore the most popular wood laser engraving motifs and styles shaping design trends in 2024 for custom wood products.